Understanding the Starlink Mini 12v Cable
1. What Is the Starlink Mini 12v Cable?
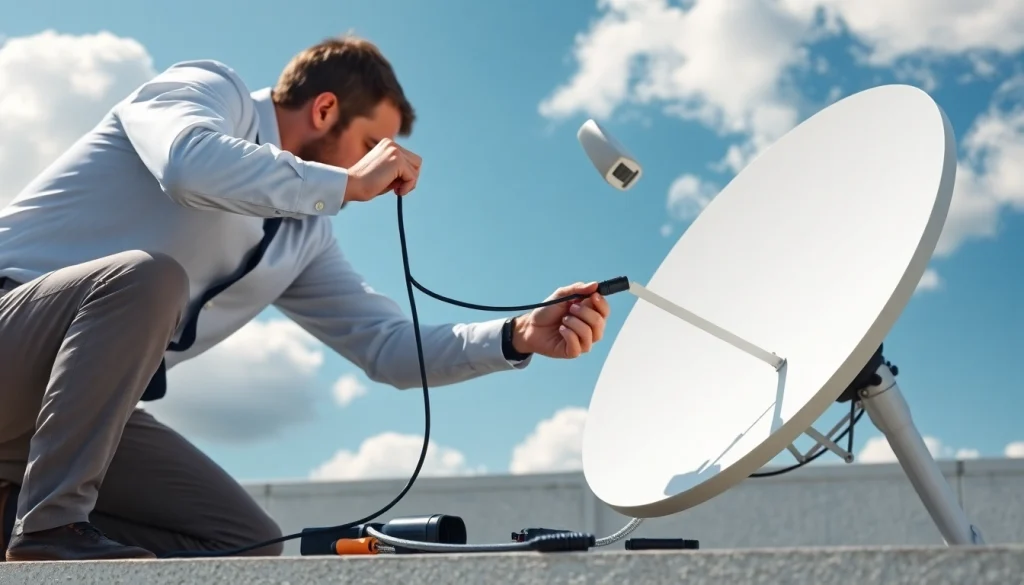
The starlink mini 12v cable is an essential component for setting up your Starlink satellite internet system, particularly for users who prefer a 12-volt power supply. This cable facilitates the connection between the Starlink antenna and the power source, ensuring that the antenna operates efficiently to provide high-speed internet access in various locations. Whether you are located in a temporary dwelling or a permanent residence, understanding the intricacies of this cable is paramount to the effectiveness of your internet setup.
2. Key Features and Specifications
The Starlink Mini 12v cable is designed with specific features and specifications that enhance its performance and durability. Key features include:
- Voltage Compatibility: This cable specifically operates at 12 volts, making it ideal for car batteries or solar power systems.
- Length Options: The cable is available in various lengths to accommodate different setups and distance requirements from the power source to the antenna.
- Compatibility: The cable is engineered to work seamlessly with the Starlink antenna, ensuring optimal power delivery for uninterrupted service.
- Weather Resistance: Built with durable materials, it can withstand outdoor elements, making it suitable for rural and remote settings.
Understanding these specifications can help users select the appropriate cable length and type for their unique installation environments, which is crucial for maximizing performance.
3. Benefits of Using the Starlink Mini 12v Cable
Utilizing the Starlink Mini 12v cable comes with several distinct advantages:
- Increased Flexibility: The 12v cable allows for power supplies in a variety of settings—be it residential homes, RVs, or remote job sites—making it a versatile option for many users.
- Efficient Power Usage: Operating at an optimal voltage reduces power wastage, ensuring more efficient energy consumption, particularly important in off-grid situations.
- Simplified Setups: This cable facilitates more straightforward installations by providing a direct power connection, thereby reducing setup complexity for users.
- Enhanced Reliability: High-quality materials and engineering ensure stable performance, which is critical for maintaining uninterrupted internet service.
As such, the operational benefits of this cable make it highly desirable for users looking to maximize their satellite internet experience.
Installation Guide for the Starlink Mini 12v Cable
1. Essential Tools for Installation
Before beginning the installation process, gather the necessary tools, which include:
- Wire cutters and strippers
- Crimping tool
- Screwdriver set
- Electrical tape or heat shrink tubing
- Multimeter (for testing electrical connections)
- Mounting hardware (for securing the antenna)
Having these tools on hand will streamline the installation process, making it efficient and more manageable.
2. Step-by-Step Installation Process
Follow these steps for a smooth installation of your Starlink Mini 12v cable:
- Choose your Installation Location: Select a location for your Starlink antenna that is free from obstructions to optimize satellite visibility.
- Prepare the power supply: Ensure your 12v power source is ready and properly placed to receive the cable.
- Connect the Cable: Attach one end of the starlink mini 12v cable to the antenna and the other end to the designated power supply. Secure connections using the crimping tool for a tight fit.
- Test the Connection: Use a multimeter to check continuity and voltage at both ends of the cable to ensure proper functioning.
- Secure the Antenna: Use the appropriate mounting hardware to securely attach the antenna to your selected surface.
- Finalize Installation: Neatly organize and secure any loose wiring to avoid damage or interference.
Following these steps will ensure not only a successful installation but also the reliability of your Starlink service.
3. Common Installation Mistakes to Avoid
While installation may seem straightforward, some common mistakes can lead to performance issues:
- Neglecting to Test Connections: Failing to test each connection can lead to undetected issues that affect signal quality and reliability.
- Using Incorrect Tools: Not having the right tools can result in improper connections, which can compromise the performance of the setup.
- Inadequate Securing: Failing to secure the antenna properly can lead to movement during windy conditions, disrupting service.
- Ignoring Weather Considerations: Not considering environmental factors can cause wear and tear on the cable and components.
Avoiding these pitfalls will ensure a smoother installation experience and enhance performance.
Troubleshooting Common Issues
1. Connectivity Problems with the Starlink Mini 12v Cable
Despite careful installation, users may encounter connectivity issues. Common symptoms include intermittent service or complete loss of connection. To troubleshoot:
- Check Power Source: Ensure that your 12v power supply is functioning and that connections are secure.
- Inspect the Cable: Look for signs of wear, frays, or damage along the length of the cable.
- Evaluate the Antenna Position: Ensure that the antenna has a clear line of sight to the sky and is not obstructed by buildings or trees.
Addressing these issues typically resolves most connectivity problems associated with the Starlink Mini 12v cable.
2. Checking Cable Integrity and Performance
To ensure your cable is performing optimally, consider the following checks:
- Voltage Testing: Use a multimeter to verify that the voltage at the antenna end matches the expected 12v.
- Visual Inspections: Regularly inspect the cable for any signs of physical damage or environmental wear.
- Performance Monitoring: Keep an eye on your internet speed and connectivity; any significant drops may indicate a cable issue.
Addressing cable integrity proactively can prevent service disruptions.
3. Resources for Further Assistance
Should issues persist despite troubleshooting, several resources can provide assistance:
- Online forums and user communities: Engage with other users who may have experienced similar issues.
- Installation guides: Consult detailed installation manuals specific to the Starlink equipment.
- Technical Support: Reach out to tech support teams who have specialized knowledge of the Starlink system.
Utilizing these resources can illuminate solutions or best practices that can enhance user experience.
Advanced Uses for the Starlink Mini 12v Cable
1. Custom Setups and Configurations
The versatility of the Starlink Mini 12v cable allows for various customized setups. Users can implement advanced configurations based on their specific needs, such as:
- Integrating solar power systems for off-grid capabilities.
- Connecting to larger battery systems for increased power longevity.
- Implementing smart home technologies that require direct internet access.
By reconfiguring installations, users can truly tailor their internet systems to best fit their lifestyle and requirements.
2. Combining with Other Technologies
Moreover, the Starlink Mini 12v cable can effectively work together with other technological setups:
- Mesh Network Extenders: To increase coverage across larger areas, especially in homes with multiple floors or buildings.
- IOT Devices: Enhancing the connectivity of smart devices that require stable internet for seamless operation.
- Power Systems: Creating hybrid power solutions using battery packs or alternative energy sources.
This interconnectedness allows users to maximize the potential of their satellite internet beyond standard applications, enhancing overall functionality.
3. Enhancing Your Satellite Experience
Users can further enhance their satellite experience utilizing the starlink mini 12v cable through:
- Regular firmware updates for the antenna and related devices.
- Setting up redundant systems for internet failover.
- Leveraging performance analytics to adjust configurations based on usage data.
Taking these steps can significantly improve the reliability and performance of your satellite system, creating a seamless online experience.
Maintenance Tips for Longevity
1. Best Practices for Cable Care
Proper maintenance can significantly extend the life of your Starlink Mini 12v cable and enhance overall performance. Consider these best practices:
- Store Properly: When not in use, roll up the cable neatly and store in a protective environment to prevent damage.
- Avoid Sharp Bends: Ensure that the cable does not experience sharp bends or kinks during setup or storage.
- Cable Covers: Use protective covers in areas exposed to harsh weather conditions, shielding against UV rays and severe temperatures.
Implementing these practices can significantly minimize wear over time, ensuring reliable performance.
2. Regular Checks and Inspections
Routine inspections are vital for maintaining the cable’s integrity:
- Performing monthly checks on the cable for signs of wear or damage.
- Testing the connections to ensure they remain secure and functional.
- Monitoring the overall performance of the Starlink system to catch potential issues early.
These ongoing evaluations can preempt costly repairs or replacements.
3. When to Replace Your Starlink Mini 12v Cable
Knowing when to replace your Starlink Mini 12v cable can significantly impact the quality of service. Key indicators include:
- Visible signs of physical damage, such as cracks, frays, or exposed wires.
- Consistent connectivity issues that cannot be resolved through troubleshooting.
- A decline in performance metrics, indicating that power is not reaching the antenna effectively.
Recognizing these signals ensures that you maintain optimal performance from your Starlink setup without experiencing prolonged outages.